Kitchen and Bath Remodeling in Riverside, CA
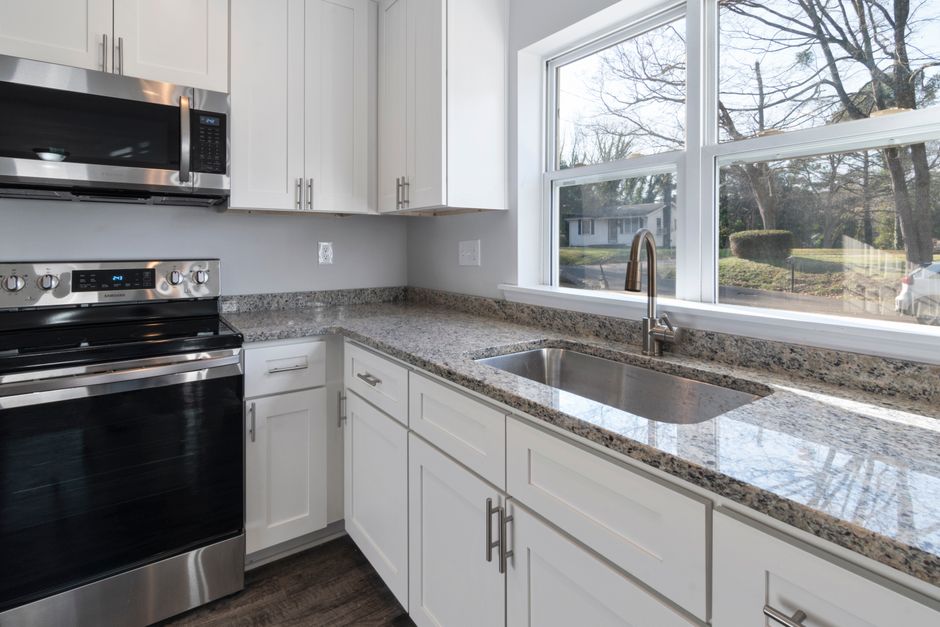
Notes from the crew on kitchen and bath remodeling in Riverside, CA, covering plumbing moves, ventilation, permits and the old houses that make each job different.
What We Cover
- Cabinets and Counters in Older Riverside Homes Out-of-square walls, uneven floors and old framing in Riverside houses, and how that shapes cabinet and countertop installation.
- Changing a Kitchen Layout in a Small Riverside House Opening a wall, shifting the work triangle and what lies inside old walls in Riverside homes before the layout can change.
- Kitchen Ventilation When Riverside Summers Run Hot How range hoods, duct runs and makeup air behave in a hot, dry Riverside kitchen and what to settle before cabinets go in.
- Living Without a Kitchen During a Remodel Setting up a temporary kitchen, planning meals and handling dust, noise and utility shutoffs while the real one is torn out.
- Moving Kitchen Plumbing and Gas Lines in an Older Riverside Home What changes when a sink or range moves in a Riverside house, from slab and crawlspace access to gas line work and inspections.
- Permits and Inspections for a Riverside Kitchen Remodel Which kitchen jobs need a permit in Riverside, what inspectors look at, and how the order of work follows the inspection visits.
Kitchen and Bath Remodeling in Riverside, CA
Most of the work in Riverside County starts the same way: a crew pulls off an old cabinet or a tile wall and finds out what the house has been hiding. Queen Anne homes from the 1800s near Downtown carry plaster over lath and wiring that predates the codes. Mission Revival houses add thick walls and odd openings. Mid-century tract homes on the Eastside and out toward La Sierra are mostly slab and drywall, and each type asks a different thing of the kitchen and the bathroom.
Kitchens Start With the Pipes
A kitchen layout is mostly a plumbing and gas question. A sink on a raised floor can be moved with new pipe hung under the joists, while the same move on a slab means cutting concrete or routing through the attic. Gas lines are sized for the whole load, and every change gets inspected before a wall closes. Cabinets only go in once the floor has been checked for its high point, because an older Riverside house is rarely flat.
Bathrooms Live and Die by Water
A bathroom fails where water finds a gap, so the tile is the last thing that matters. Waterproofing behind the shower, a properly sloped pan, and a valve set at the right depth come first. Old galvanized pipe, patched subfloors and rot under a tub are common finds in houses that have stood for a century.
Heat, Dust and Dry Air
Riverside is semi-arid, with hot dry summers, mild winters, an occasional freeze and under ten inches of rain a year. That climate shapes the work. Adhesives and mortar cure fast in the heat, attic duct runs bake, and fine dust from the Santa Ana River bed and the slopes of Box Springs Mountain finds its way into every open wall. Homes near Mount Rubidoux and Lake Mathews also sit in wildfire country, so vents and exterior openings are built with embers in mind.
Guides
The pages here cover moving sinks and gas lines, kitchen ventilation in summer heat, cabinets in crooked old houses, permits and inspections, living without a kitchen for several weeks, and changing a small kitchen layout. Each one is written from the crew side of the job.
Latest Guides
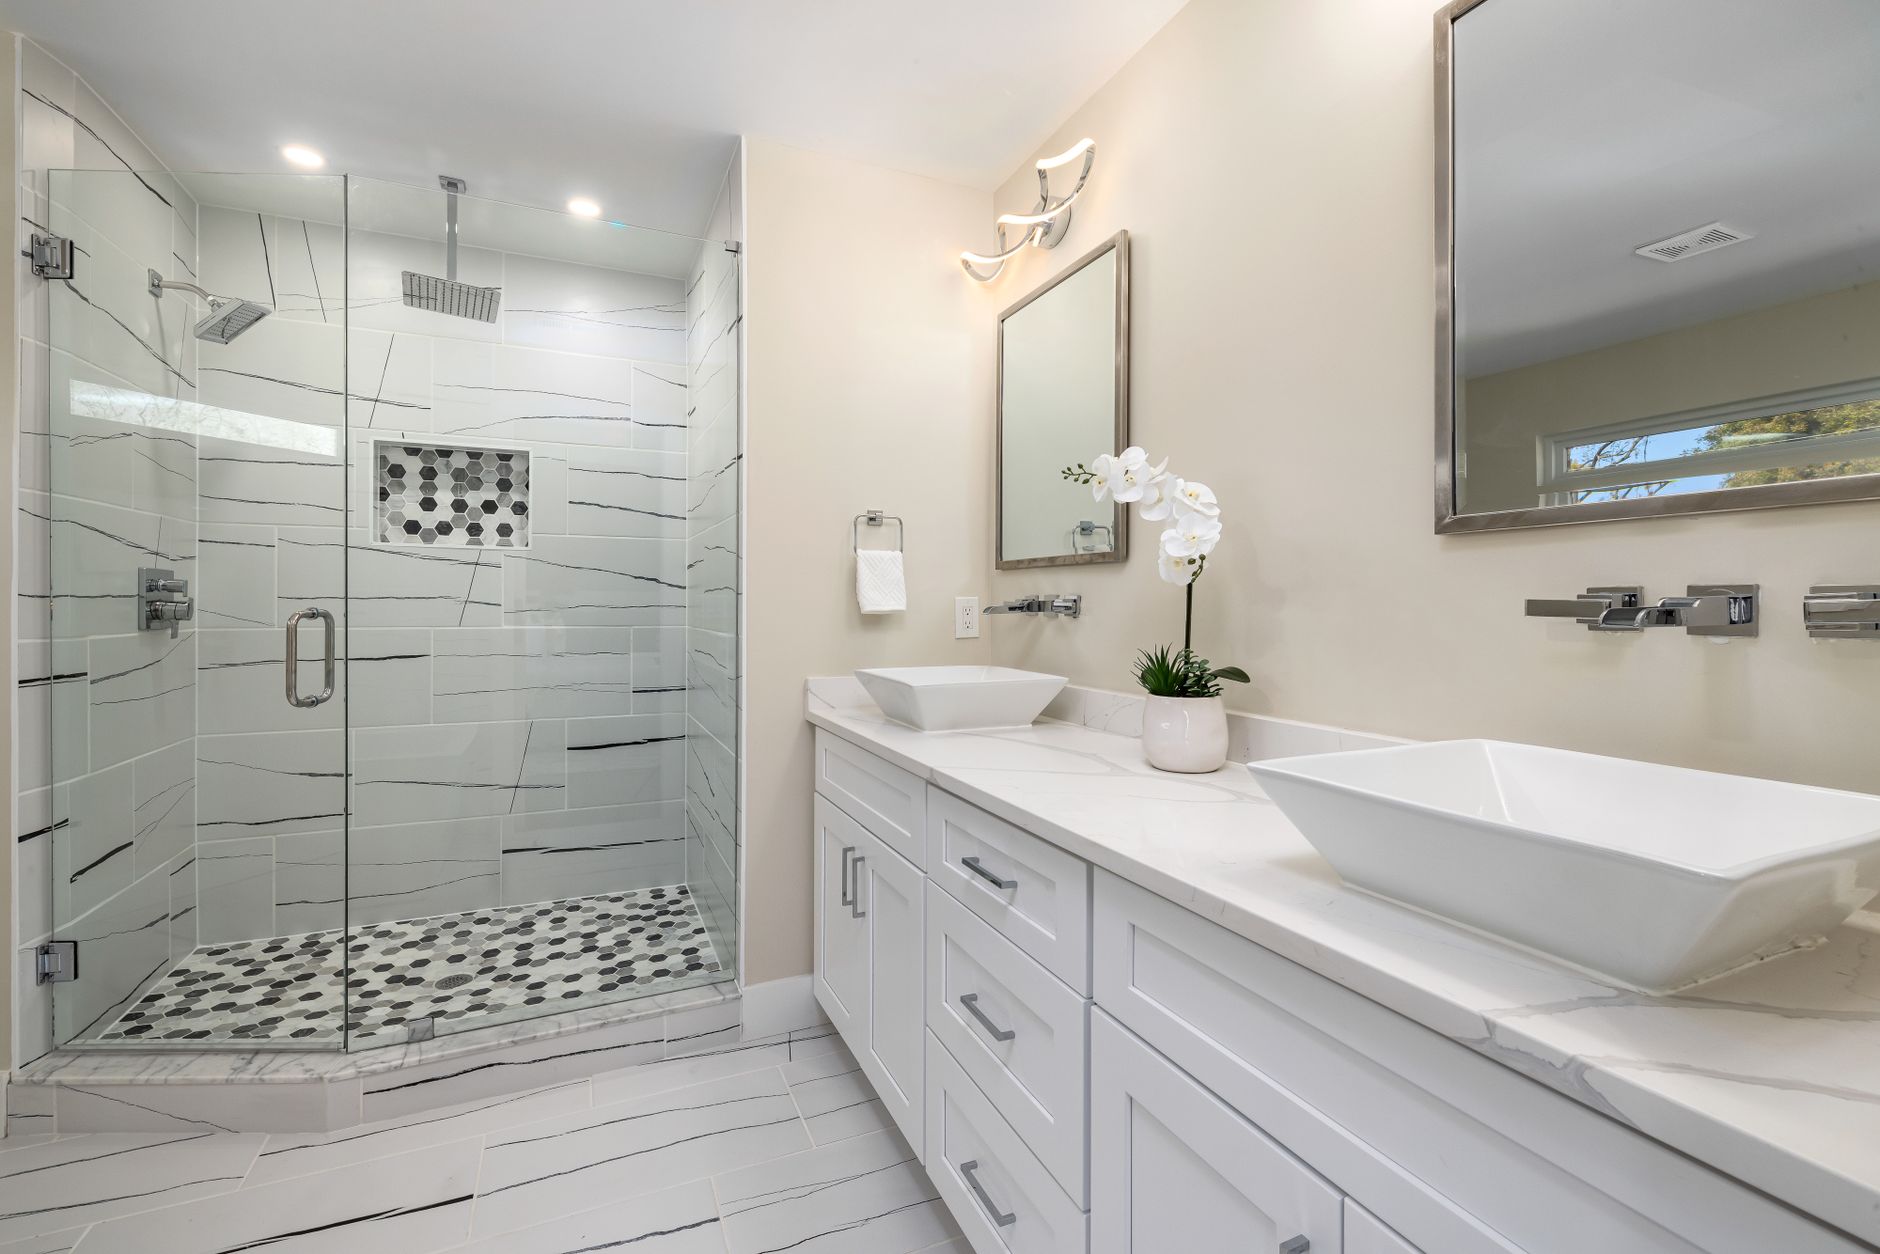
Kitchen Floors That Hold Up in a Dry Inland Climate
Which Kitchen Floor Holds Up in a Dry Inland Climate Like Riverside?
Riverside sits in a semi-arid basin with long, hot, dry summers, mild winters, and very little rain. That mix is easy on a floor in one way, since standing water is rare, and hard in another, because a house here swings through large temperature changes between a July afternoon and a December night. Kitchens add their own load: dropped pans, spilled oil, a refrigerator that weighs more than most people expect, and a dishwasher that leaks once in a while. The right surface is the one that handles those things on the specific floor underneath it.
Under the finish sits a structure that changes the answer. Queen Anne and Mission Revival houses near Downtown and Arlington usually have a wood subfloor on joists over a crawlspace. Mid-century tract homes out toward La Sierra and Arlanza are mostly concrete slab. A tile that is perfect on a slab can crack on a bouncy wood floor, and a floating plank that is perfect over wood can trap moisture on a slab that was never sealed. So the first job is to learn what is below.
How Do the Main Options Compare?
The table below sets the common kitchen floors side by side on the points a crew actually weighs on the job.
| Surface | Best over | Weak point | Heat behaviour | Repair |
|---|---|---|---|---|
| Porcelain tile | Slab, or wood with added stiffness | Cracks if the base flexes | Stable, stays cool underfoot | Single tiles can be cut out |
| Natural stone tile | Slab | Stains and etching without sealing | Stable, very cool | Hard to match a replacement |
| Solid hardwood | Wood subfloor | Gaps and cupping with moisture swings | Moves slightly with dry air | Sand and refinish |
| Engineered wood | Wood or slab with a moisture barrier | Thin top layer limits refinishing | More stable than solid | Limited sanding |
| Luxury vinyl plank | Either, if flat | Shows every bump in the base | Can expand in direct sun | Replace single planks |
| Sheet vinyl | Either, if smooth | Tears and gouges | Stable | Patch or replace the sheet |
None of these wins everywhere. The column that matters most in an older Riverside house is the second one, because the base decides how much prep the floor needs before a single piece goes down.
What Has to Happen to the Subfloor First?
A finish floor copies the surface it sits on. Most of the cost in time on a flooring job is spent on the base, not on the visible material.
On a wood subfloor in an older house, the crew walks the floor looking for soft spots, squeaks, and old patches. Boards that have shifted get screwed down. Low areas near the sink are checked for rot, since decades of small leaks leave damage that cannot be seen from above. Where tile is going in, a layer of cement board or a decoupling membrane goes over the wood, set in thinset, so the movement of the joists does not reach the tile and crack the grout lines.
On a slab, the work is about flatness and moisture. A long straightedge shows dips and humps. High spots get ground down and low spots get filled with a leveling compound. A slab in this region is generally dry on the surface, but a slab near an irrigated lawn or a leaking line can carry moisture upward, and a plank floor laid over it will cup. A moisture test before installation costs an hour and saves the floor.
Why Does Flatness Matter So Much to the Cabinets?
Cabinet and countertop installers work from the highest point of the floor. If the new flooring goes in before the cabinets, the cabinets sit on top of it and any wave in the floor is carried up into the countertop edge. If the cabinets go in first, the flooring stops at the toe kick and the cabinet run is already level, but the floor around it is harder to lay neatly and a future cabinet change means patching.
Crews split on this, and the honest answer is that it depends on the surface. Tile and stone usually go in after the cabinets are set, with the tile cut to the toe kick, because the heavy cabinets and countertop should not rest on a brittle surface. Hardwood is often laid across the whole room first so the floor looks continuous, and the cabinets are set on a plywood platform at the same height. Vinyl plank floats and is installed last. Whichever order is chosen, it has to be fixed before the cabinets are ordered, since the toe kick height and the dishwasher opening both depend on it.
What About the Appliances and Their Openings?
A new floor changes the height of the finished surface, and the dishwasher is the first thing to notice. The machine slides into an opening with only a small tolerance, and a thicker floor can leave it too tight to remove for service. The refrigerator, range, and any pull-out drawers have the same problem. Stone tile on thick thinset plus a membrane can raise a floor by nearly an inch, and that has to be drawn on the plan.
The transition at the doorway is the second detail. A kitchen floor often meets a living room in oak or old fir, and the two rarely sit at the same height. A reducer strip or a carefully planed threshold handles the step. Older houses with thick door jambs and plaster walls make it hard to hide, so the transition is planned, not improvised at the end.
How Do Heat and Dry Air Treat Each Surface?
Wood is a living material and reacts to humidity. In Riverside the air is dry for most of the year, and a hardwood floor installed in a humid week can shrink and open gaps when the dry season arrives. Crews let the boards sit in the house for a few days to adjust before installation, and leave a gap at the walls for movement. Solid wood is the most sensitive, engineered wood the least among the wood floors.
Vinyl plank reacts to heat instead. A floor that sits in a patch of strong afternoon sun, near a large west-facing window or a sliding door, can warm enough to expand and push at the edges. A gap at the wall, covered by baseboard or shoe molding, absorbs it. Porcelain and stone do not react at all, but they stay hard and cold, which some people like in a hot summer and dislike on a winter morning.
What Should Be Decided Before Demolition Starts?
A short list keeps the job on its schedule.
- What the subfloor is made of, and whether any of it needs repair once the old floor is up.
- Whether the flooring goes in before or after the cabinets, and the finished floor height that results.
- The clearance each appliance needs under the countertop and at its opening.
- How the new floor meets the next room, and what happens at the doorway.
- Where the plumbing and gas work will open the floor, since that area gets patched or replaced anyway.
The last item deserves a second look. If the layout moves a sink on a slab, the concrete is cut open, and the flooring in that stripe will be new no matter what. Matching an old tile or wood pattern across a patch is difficult, so many remodels replace the whole kitchen floor at once, and sometimes the hallway beside it as well.
How Does the Floor Fit With Tile and Grout Elsewhere?
The kitchen backsplash, the floor, and the countertop edge all meet at different points, and the joints between them move at different rates. A flexible caulk joint where the floor meets the cabinet toe kick, and again where the backsplash meets the countertop, takes the movement that grout cannot. Grout is rigid. It cracks when the surfaces on either side shift, and an older Riverside house, which has settled over decades and flexes with the season, will shift.
A floor that is flat, well supported, and finished with the right joints will outlast the cabinets above it. Choose the surface that suits the base, and let the base be prepared properly.
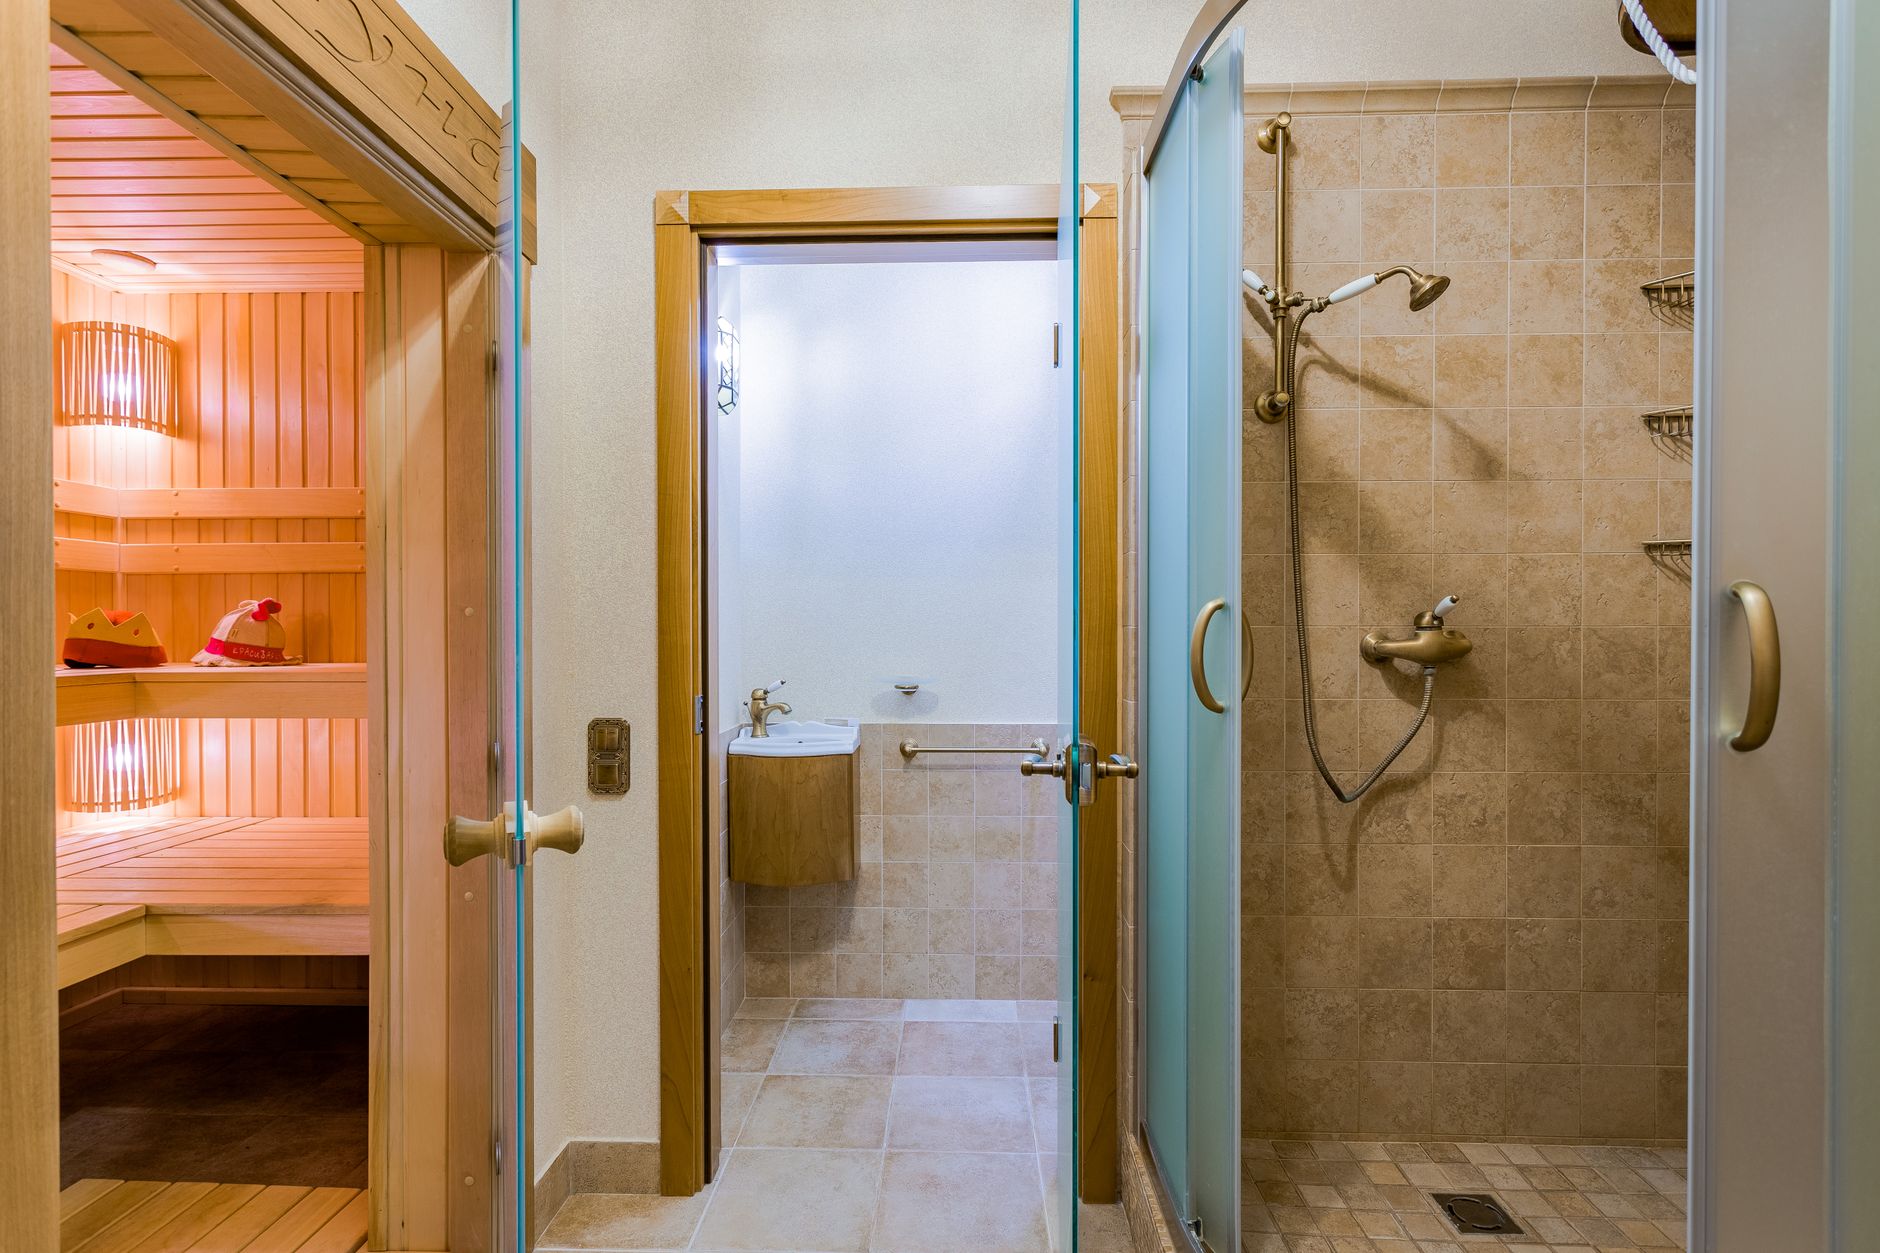
Planning Kitchen Lighting in an Older Riverside House
Why Does Kitchen Lighting Go Wrong So Often in Older Riverside Homes?
Many kitchens in the older houses around Downtown, the Eastside, and Casa Blanca were lit with one ceiling fixture in the middle of the room and a bulb over the sink. That worked when the kitchen was a small room with a single cook. Once the cabinets are replaced and the countertop gets longer, the same fixture throws shadows exactly where the knife is working. Lighting is planned in layers, and a remodel is the only time the ceiling and walls are open enough to do it cleanly.
The questions below come up on nearly every kitchen job, and the answers shape how the electrician, the cabinet installer, and the plasterer sequence their work.
What Are the Three Layers of Kitchen Light?
Crews talk about ambient, task, and accent light. Ambient light fills the room evenly and usually comes from ceiling fixtures or recessed cans. Task light sits close to the work: under the upper cabinets, over the sink, above the range. Accent light is optional and picks out glass doors, an open shelf, or the inside of a cabinet.
The task layer does most of the useful work. A countertop in the shadow of an upper cabinet is the dimmest surface in the room, and a strip light fixed under the cabinet edge fixes that at the source. Ambient light alone makes the room bright but leaves the work surface dark.
Where Do Recessed Lights Go in a Plaster Ceiling?
Recessed cans are the usual ambient choice, and they are harder to install in an old house than in a new one. A plaster and lath ceiling is heavy and brittle. Cutting a round hole cracks the surrounding plaster unless the crew scores the circle first and supports it from above. Beyond the plaster, the cavity above the ceiling may hold old knob and tube wiring, fiber insulation, and in some Queen Anne houses the remains of a gas lighting line.
Mid-century tract homes are easier. A drywall ceiling takes cans readily, though the attic above can be shallow, and a can that is not rated for insulation contact cannot sit under blown insulation. In a hot attic the heat trapped around a can shortens the life of the fixture, so a rated unit with a sealed housing is the right pick.
Spacing follows the work, not a grid. Cans are placed over the front edge of the countertop and the sink, not the center of the floor, so the cook does not stand in their own shadow.
How Does Natural Light Change the Plan?
Riverside gets strong sun for most of the year, and a kitchen window can flood a room in the afternoon. That helps in winter and works against the air conditioning in summer. A west window above the sink often needs a shade or an awning, and the lighting plan should assume the room is bright in the day and artificial light is mainly an evening matter.
Glare is the usual problem. Polished stone on a countertop and a glossy tile backsplash bounce window light straight back at the eye. A honed or matte surface reduces it, and so does placing the sink and prep area off to the side of the window, not in line with it. The designer looks at where the sun lands at four in the afternoon in July, not just at noon.
Which Kind of Under-Cabinet Light Is Worth Using?
Under-cabinet lights come in rigid bars, flexible strips, and round pucks. Each has a character.
- Bars are even and sturdy, and the best choice for a long run of countertop.
- Strips are thin and can follow a curve or a corner, but they need a diffuser, or the individual points of light show as bright dots on a glossy surface.
- Pucks are quick to install and leave a scalloped pattern of light and dark along the countertop.
Whichever type goes in, it should sit at the front of the cabinet, close to the edge, so the light lands on the work surface and not on the backsplash. A fixture pushed against the wall lights the wall and leaves the countertop dim. The wiring comes from a switched circuit, and in a remodel the electrician runs it through the wall before the drywall is closed, since fishing a wire behind finished tile is nearly impossible.
What Color of Light Looks Right?
Bulbs and strips are sold by color temperature, from a warm yellow to a cool blue-white. A kitchen usually wants something between the two: warm enough to flatter wood cabinets and skin, clean enough to judge the color of food. The bigger rule is consistency. Mixing warm cans with cool strips makes the room look patched together, and a mismatch on a stone countertop shows right away. The crew picks one temperature for the whole room and tests it against the actual cabinet and counter samples before ordering.
Dimmers belong on the ambient layer. A kitchen that is a workroom at six and a dining room at eight should not have only one brightness. Dimmers must match the bulbs, since not every light dims smoothly, and a mismatch causes buzzing or flicker.
Do Lights Need Their Own Circuit?
Lighting normally shares a general circuit with the dining area or nearby rooms, and the outlets above the countertop run on separate small-appliance circuits. Heavy loads, such as the range, the dishwasher, the disposal, and the microwave, get their own. Adding a dozen recessed cans and a run of strip light to an old panel can push a circuit past its limit, and older houses often have a panel that is already full.
The electrician adds up the load before cutting anything. In an older Riverside house, that count may show the panel needs an upgrade or a subpanel before the new kitchen can be wired. Lighting changes that include new wiring are inspected at rough-in, with the walls still open, like other electrical work in the kitchen.
How Does Lighting Affect the Order of Work?
Lighting is one of the first things settled and one of the last to be seen. The rough wiring goes in with the walls open, then the ceiling is patched or the drywall hung, then the cabinets and countertop are set, then the backsplash tile, and only at the end do the trim kits and fixtures go on. Moving a can after the ceiling is finished means a new hole and a new patch, and the plasterer is not always on site the same week.
That is why the layout of lights is drawn on the same plan as the cabinets. The cabinet run sets where the task lights go, and the task lights set where the ambient lights should and should not be.
What Should the Final Walk-Through Check?
With the room finished, a crew turns every fixture on and looks at the surfaces, not the bulbs. Shadows on the countertop, glare off the backsplash, a dim corner by the range, or a switch that controls the wrong light are all easy to fix on the last day and annoying to live with afterward.
A good kitchen light plan is one the cook never thinks about. Put the light where the hands work, keep one color throughout, and give the old wiring a proper look before adding to it.